
Settings
Touchscreen Settings
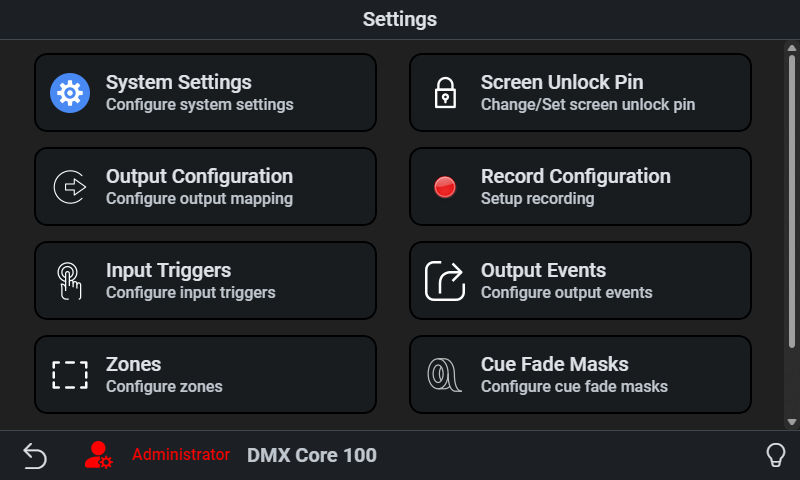
On the touchscreen, navigate to Main Menu > Settings for the settings list, then System Settings for host options (timezone, lock-down, remote access, and more).
To install a software build, see Software Updates. On the Appliance touchscreen that is Utilities > Device Operations > Releases, not this Settings page.
System Settings also includes:
- Screen Unlock Pin - exactly 4 characters with at least one digit, or it is cleared on save. Changing it on the touchscreen (Settings > Screen Unlock Pin) asks for the current PIN, then the new one twice. Once a PIN is set, a lock button appears in the footer.
- Screen lock timeout (Appliance only; the Web UI name is Lock Screen after X seconds) - 0–600 seconds; 0 disables the lock.
- Change current user’s pin - change the signed-in user’s login PIN.
Tap a setting (or select it with the rotary knob) to change it in a popup. The top option with the X leaves the selection unchanged; the current selection is marked with a checkmark. Long-hold also cancels.
Web UI Settings
The Web UI exposes all settings, organized in the sidebar under Lighting Setup, Control & Integrations, and Device:
| Page | Description |
|---|---|
| Lighting Setup > Inputs | The input table (received universe → slot id, one protocol per row), the recording protocol, the stream routing switch and the live sources |
| Lighting Setup > Outputs | DMX output universes and protocols - see Output Config |
| Lighting Setup > Protocol | Output frequency, merge mode, priorities, and end-of-data behavior, the 2-port board’s passthrough function, and the stream routing priority and input-loss settings |
| Lighting Setup > Fixtures | Fixture definitions - see Fixture Setup |
| Lighting Setup > Cue Fade Masks | Which DMX channels participate in cue fades - see Cues |
| Control & Integrations | Triggers, events, control surfaces, custom menus, control values, OSC clients, MQTT, scripts, and plugins |
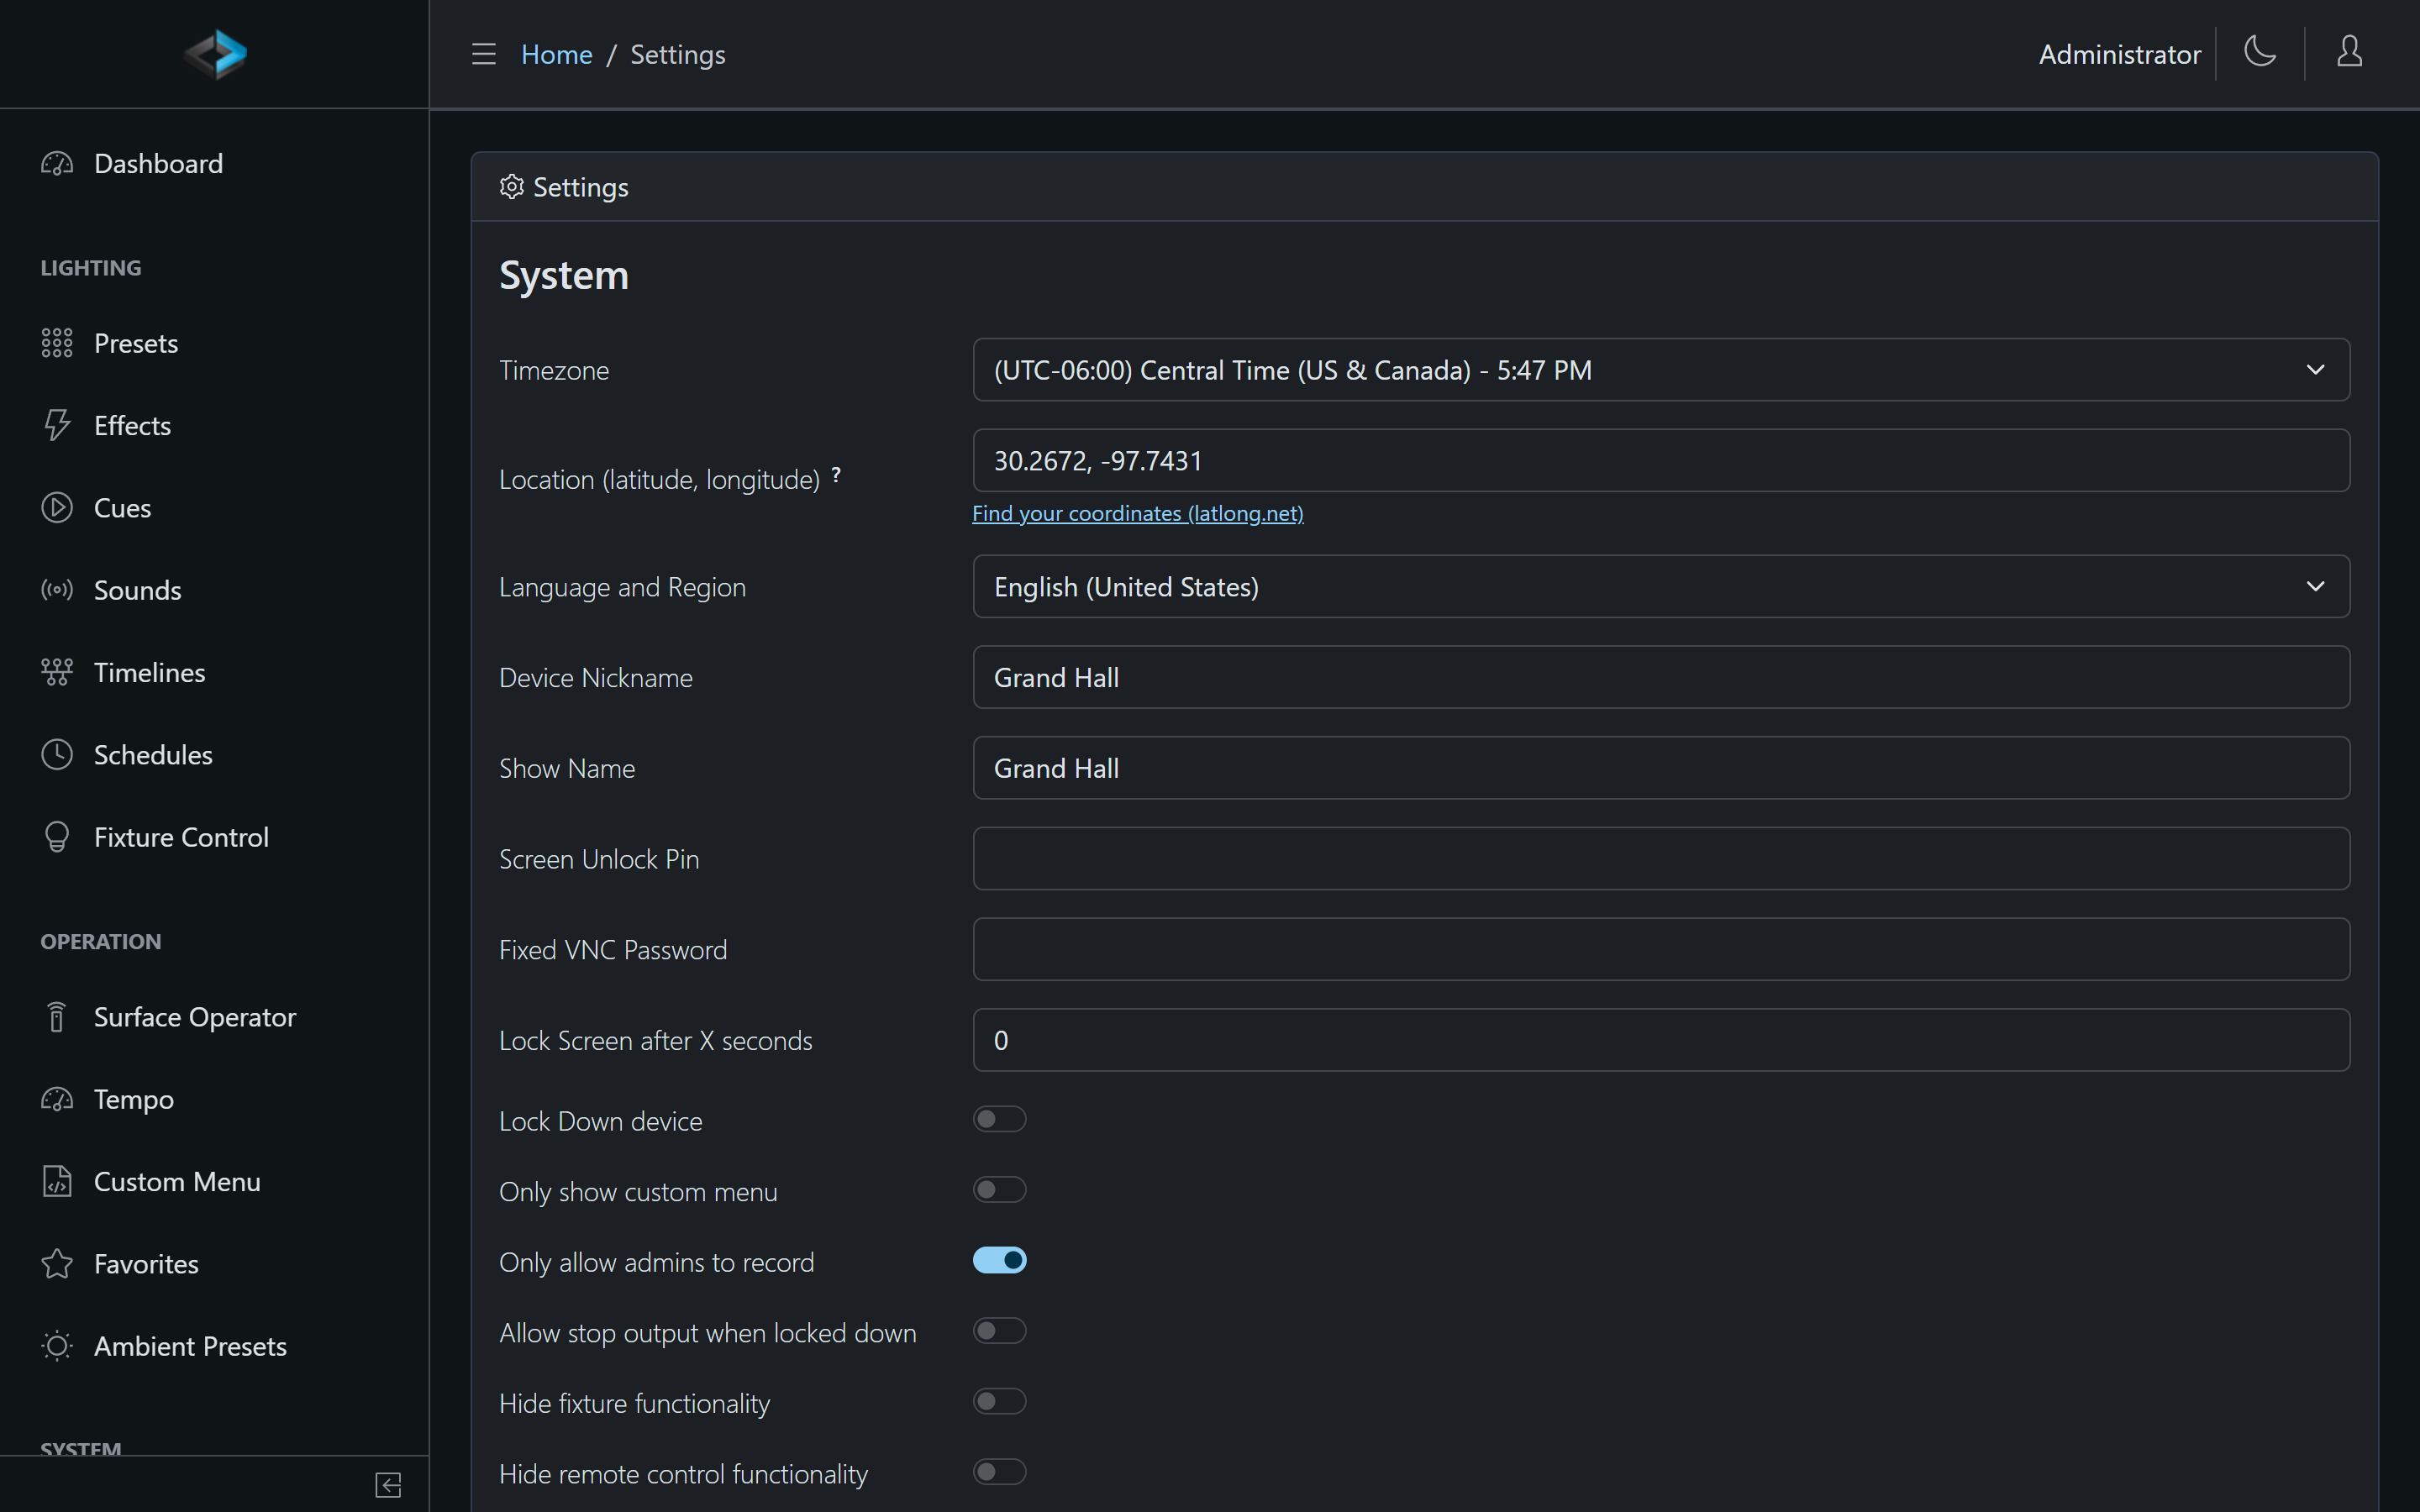
| Device > System | Timezone, location, language, device nickname, lock-down options, ports, audio (see below) |
| Device > Network | Per-adapter IP configuration - DHCP or static address, netmask, gateway (see below) |
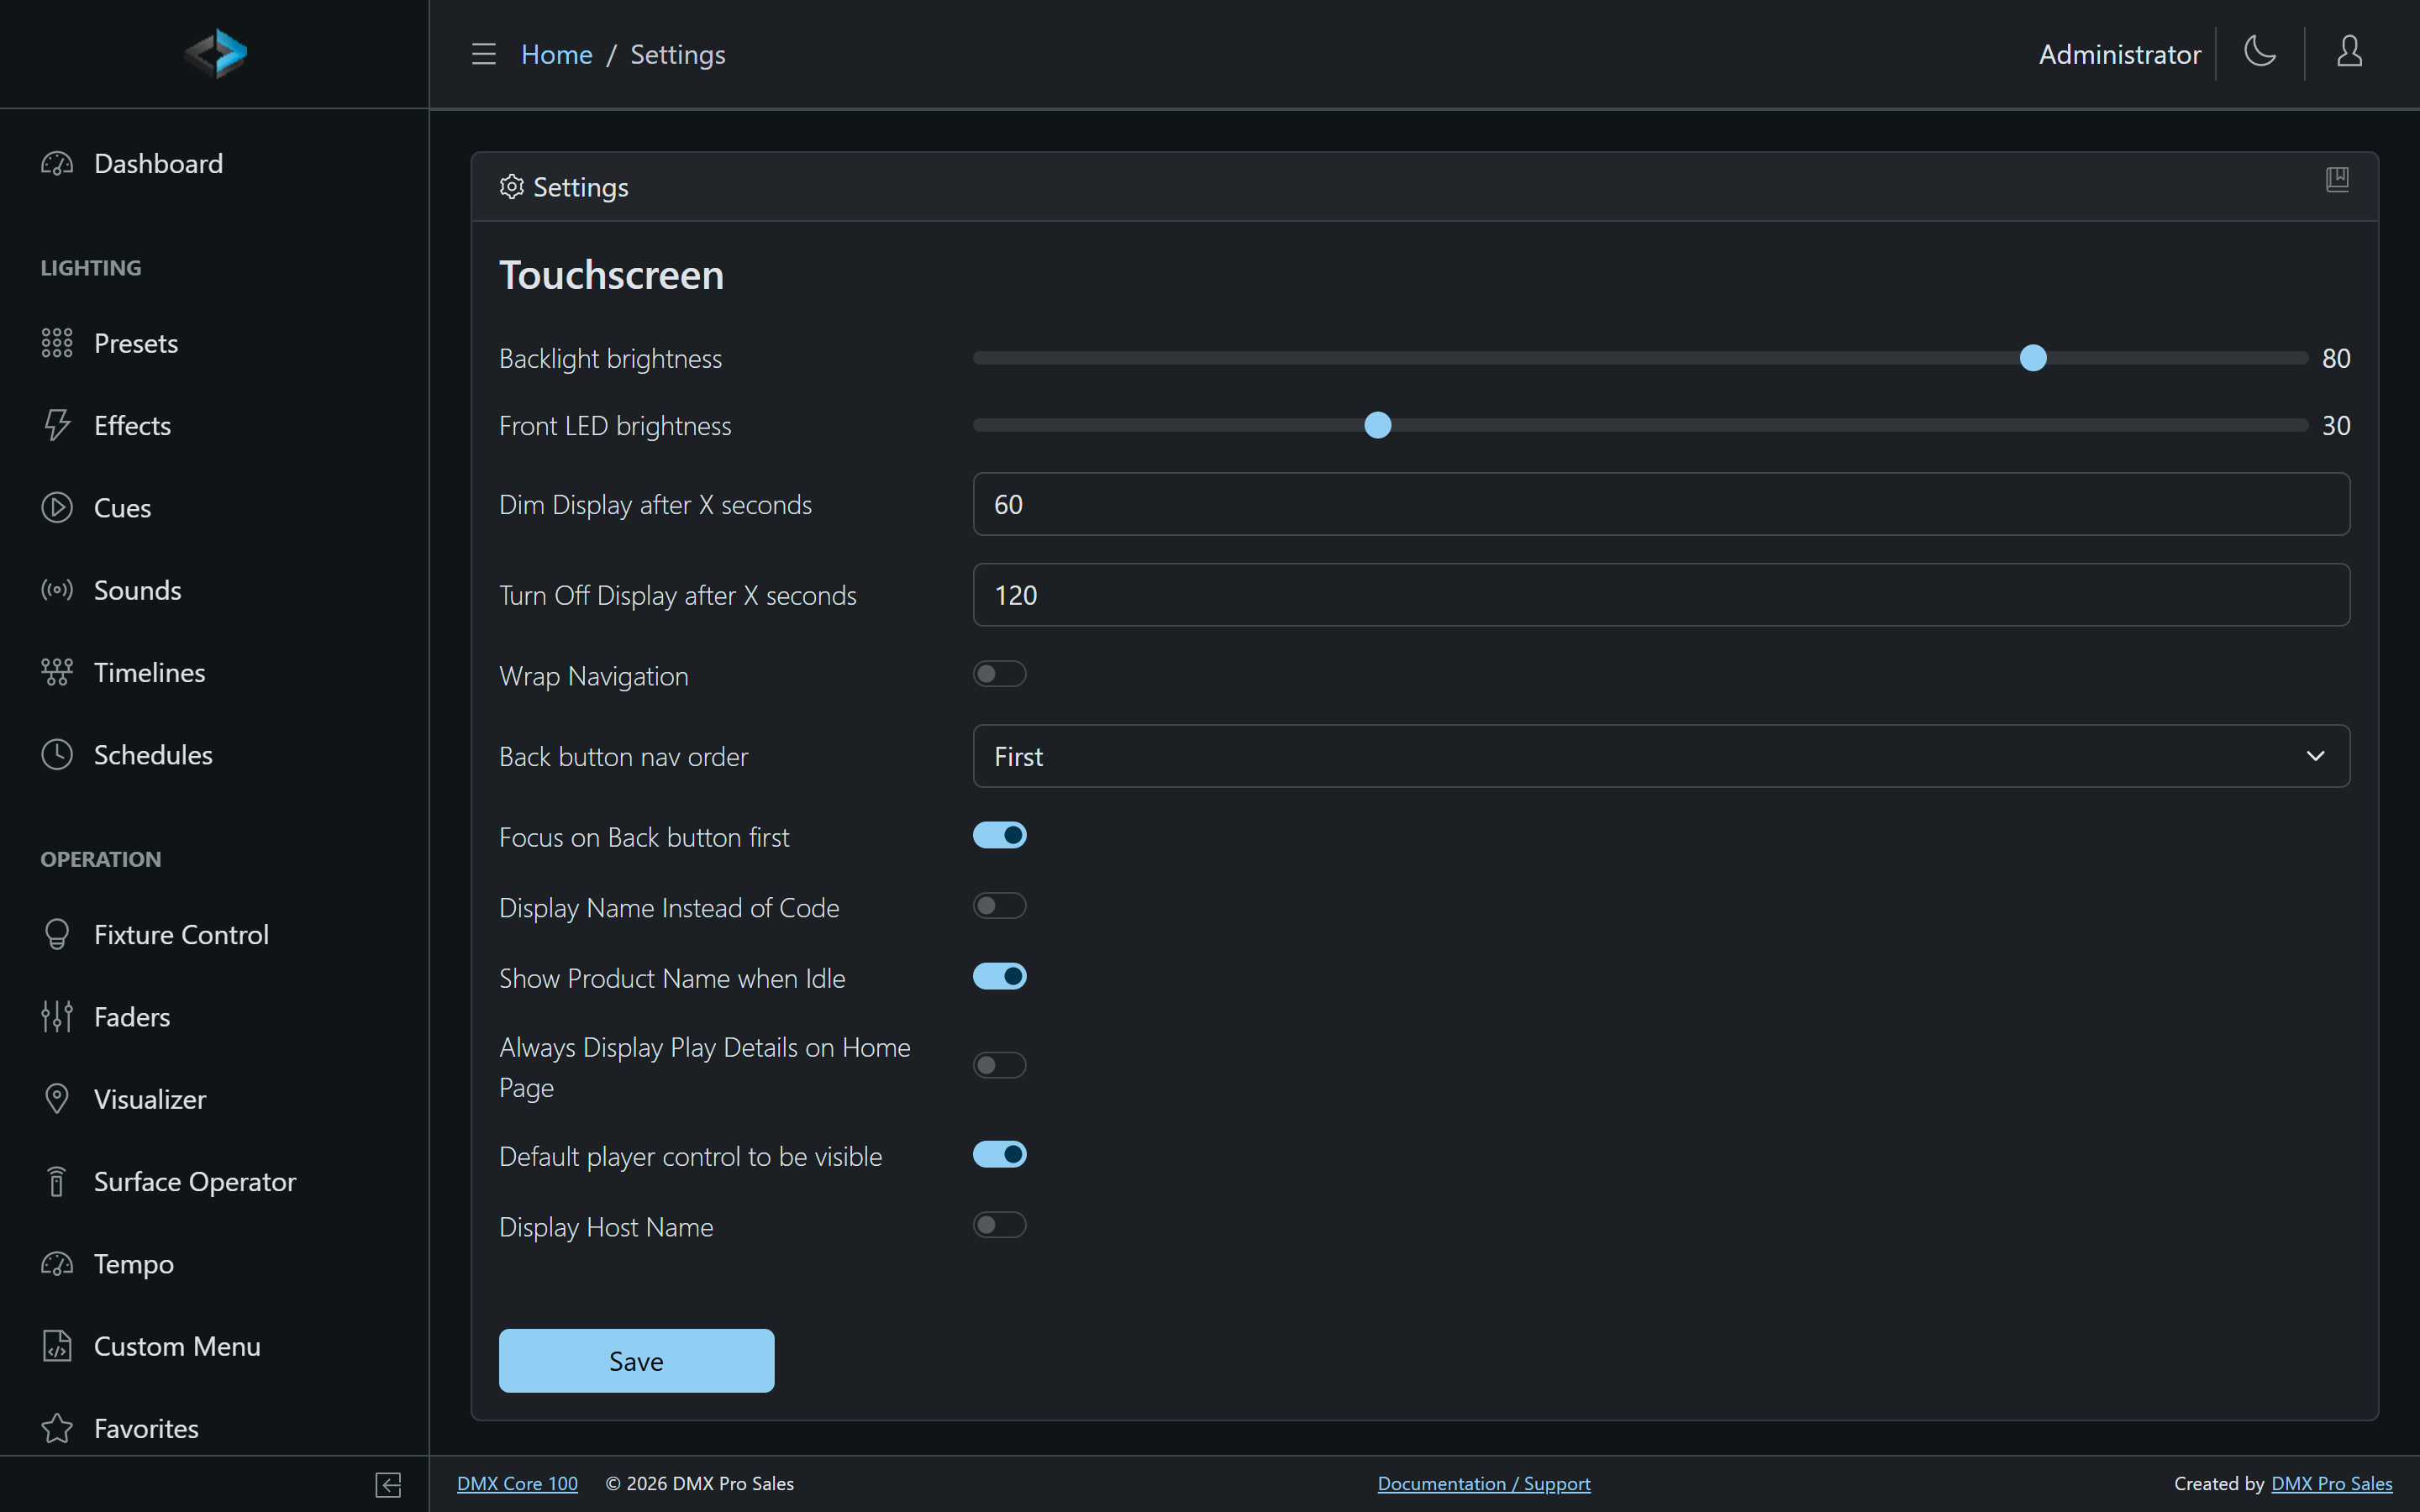
| Device > Touchscreen | Backlight and front LED brightness, display dim/off timeouts, navigation behavior, on-screen display options |
 | Device > Installer | Installation-specific settings and white-label branding |
Device > System Highlights
- Timezone, Language and Region, and Location (below)
- Device Nickname and Show Name - displayed on-screen and in the portal
- Screen Unlock Pin and Lock Screen after X seconds - the touchscreen lock. The PIN must be exactly 4 characters with at least one digit or it is cleared on save. Lock timeout accepts 0–600; 0 disables the lock (same setting as Screen lock timeout on the Appliance touchscreen).
- Control surface hold to confirm (ms) - how long a Hold to confirm button must be held before the action fires (default 1500, range 250–10000). Changing it takes effect on the next press; no restart
- Lock-down options - lock down the device, show only the custom menu, only allow admins to record, allow stop output when locked down, hide fixture or remote control functionality
- Store recordings compressed - save each new recording as a compressed cue (off by default; existing cues are not affected)
- Multi-Zone Playback - enables zones
- Enable Remote Access - the cloud tunnel
- Enable MCP Server - expose the MCP endpoint for AI clients; use Issue MCP API Key on the same page (or User Management > API Keys)
- Enable Integration API - expose the Integration API for control systems such as Bitfocus Companion; use Issue Integration API Key on the same page (or User Management > API Keys)
- OSC Port, Local HTTP/HTTPS Ports - network ports (changes require a restart)
- Audio Device and Sample Rate - output device for sound playback
- Fixed VNC Password - a VNC password that does not change; without one, the password changes every time the app starts. Used by VNC viewer apps - see Remote Screen
Device Location
The Location (latitude, longitude) setting under Device > System tells the device where it is installed. It is used to calculate the local sunrise and sunset times for schedules. The calculation runs entirely on the device - no internet connection is needed.
Enter the coordinates as latitude and longitude separated by a comma, for example:
30.2672, -97.7431Two easy ways to find your coordinates:
- Use the Find your coordinates link below the setting (latlong.net): search for your address and copy the values.
- In Google Maps, right-click your location on the map and click the coordinates at the top of the menu to copy them.
Coordinates only need to be approximate - being off by a few miles changes sunrise/sunset by well under a minute. Make sure the Timezone setting is also correct, since sun times are shown and evaluated in the device’s local time.
Device > Network
Device > Network lists the network adapters the DMX Core 100 has, one card per adapter. Each card shows the adapter name and its system interface name, a Connected / Not connected badge, and - when connected - the current IP address, whether it came from DHCP or is Static, and the gateway.
Under IP settings on each card:
- Use DHCP - on by default. The address is assigned by your network.
- Turn Use DHCP off to enter an IP address, Netmask and Gateway yourself, then press Apply.
IP settings can only be applied while the adapter is connected; on a disconnected adapter the Apply button is unavailable and the page says so.
If a bad static configuration makes a unit unreachable, see Force DHCP mode.
Override Host Name, Custom NTP Server, and Enable Internet Passthrough (shows the Internet Passthrough section on Utilities > System) are not on this page - follow the network settings link at the bottom of it to reach them.
On the touchscreen the same per-adapter configuration is under Main Menu > Settings > Network Adapters….
If no Wi-Fi adapter is present
A DMX Core 100 with no wireless adapter shows an extra card reading No Wi-Fi adapter detected, below the wired adapter. This is informational - the card appears whenever the device has no wireless hardware, which is the normal state for a standard unit, and nothing on the page is broken or missing because of it. Wired configuration is unaffected.
NTP Time Synchronization
You can configure a custom NTP server for time synchronization, or sync the device time from your browser (useful when no NTP server is available on the network).