Presets
Presets are saved snapshots of DMX fixture states — colors, dimmers, positions, and more. Activate a preset to instantly apply that state to your fixtures, with optional smooth fading.
Viewing and Activating Presets
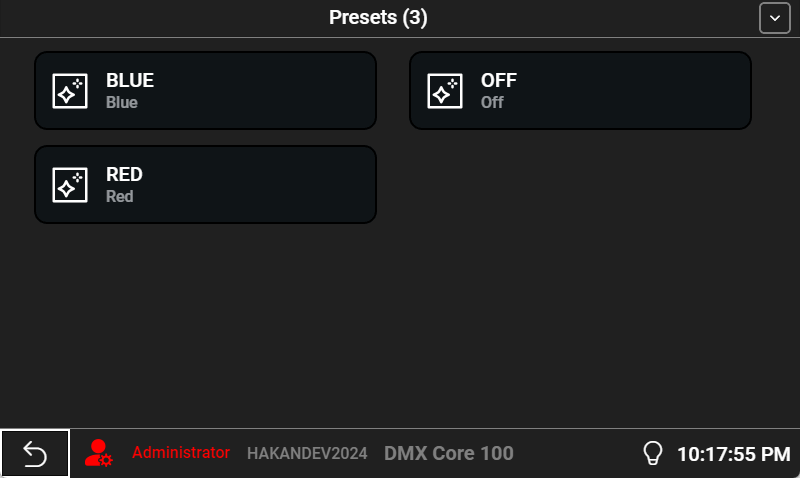
On the touchscreen, navigate to Main Menu > Presets. Tap a preset to activate it. If a cue is playing, it will be stopped when a preset is selected. Long-hold for settings.
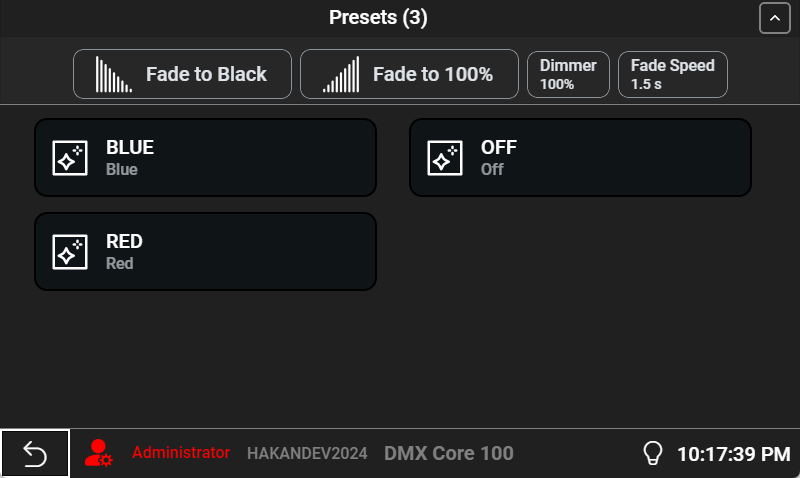
The top bar expands to show global controls — tap the arrow to toggle it. Controls include Fade to Black, Fade to 100%, master Dimmer level, and Fade Speed.
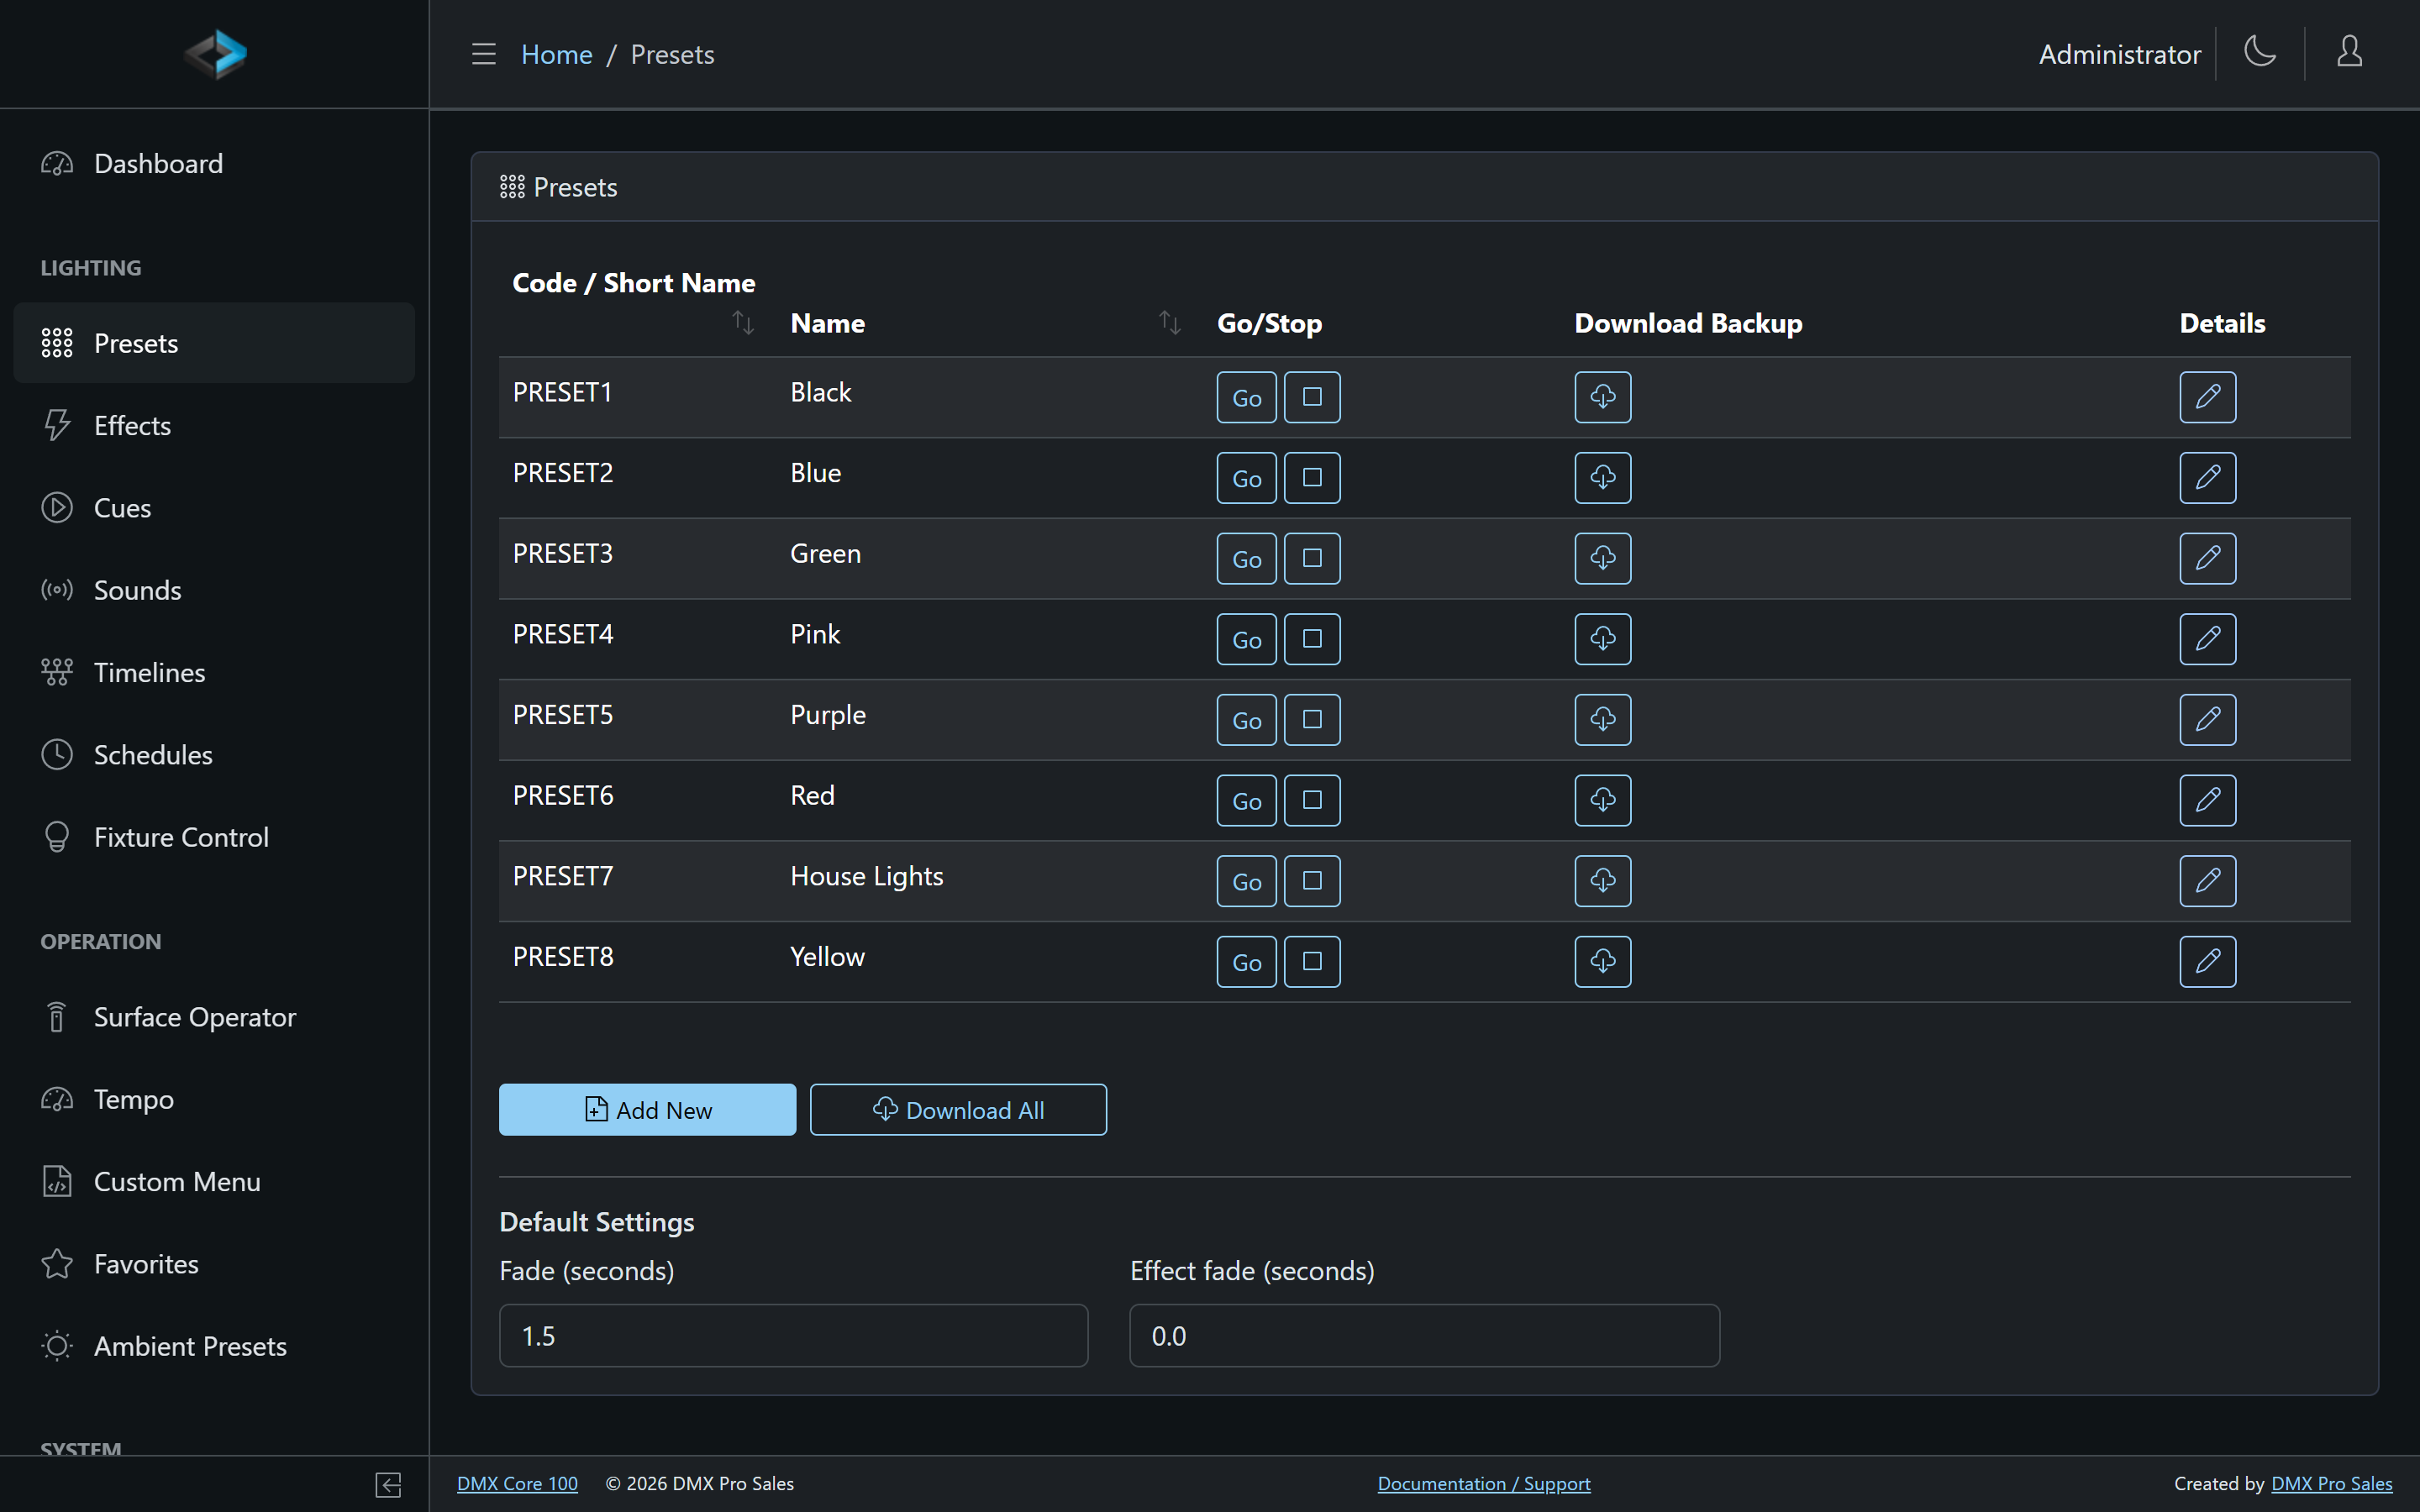
In the Web UI, go to Lighting > Presets. Click the play icon to activate, or click the preset name to open its editor.
Preset Types
- Global — Applies to all configured fixtures and universes
- Zone — Applies only to fixtures within a specific zone
- Fixture — Applies to a specific individual fixture
A preset with a single universe will be output to all configured universes when selected. A multi-universe preset will only output to the number of universes stored in the preset.
Preset Settings
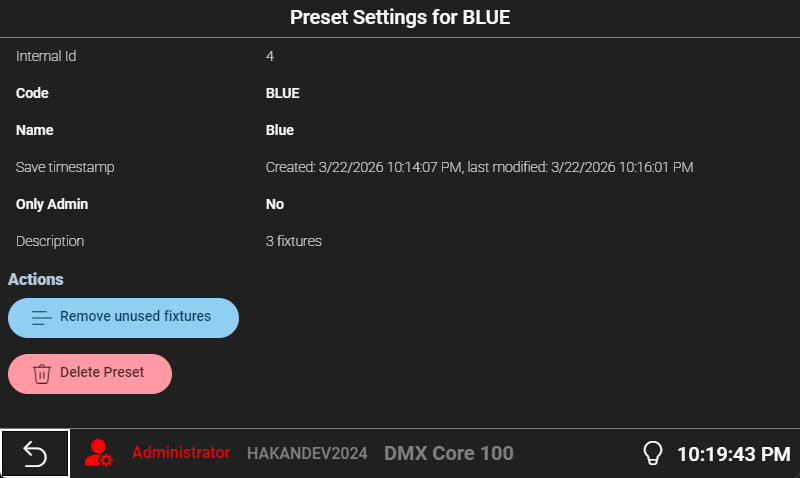
- Code — Unique identifier for API and external control
- Name — Display name
- Fade Duration — How long the transition takes when activating or deactivating
- Effect — Optionally assign an effect that runs while the preset is active
- Ambient — Mark the preset as an ambient candidate (see below)
- Release at end — Release the fixtures when the preset finishes instead of holding its state
- Favorite / Only Admin — Dashboard shortcut and visibility flags
Editing Presets
Another way to build a preset: set up the look interactively in Fixture Control and use Build Preset to capture it.
Stopping a Preset
An active preset can be stopped, which fades out its output over the configured fade duration. In the Web UI, use the stop button; on the touchscreen, activate a different preset or use blackout/stop. See Blackout and Stop.
Ambient Presets
The DMX Core 100 distinguishes between two layers of preset playback: an ambient preset that defines the baseline state of your venue, and temporary presets that play on top of it for a specific purpose.
The Ambient Preset
The ambient preset is a persistent background state that is always active when nothing else is playing — the “house lights” your venue returns to when the system has nothing else to do.
- Starts playing automatically on device startup
- Resumes automatically when a temporary preset, cue, or timeline finishes
- Never has to be manually triggered — it just fills the gap
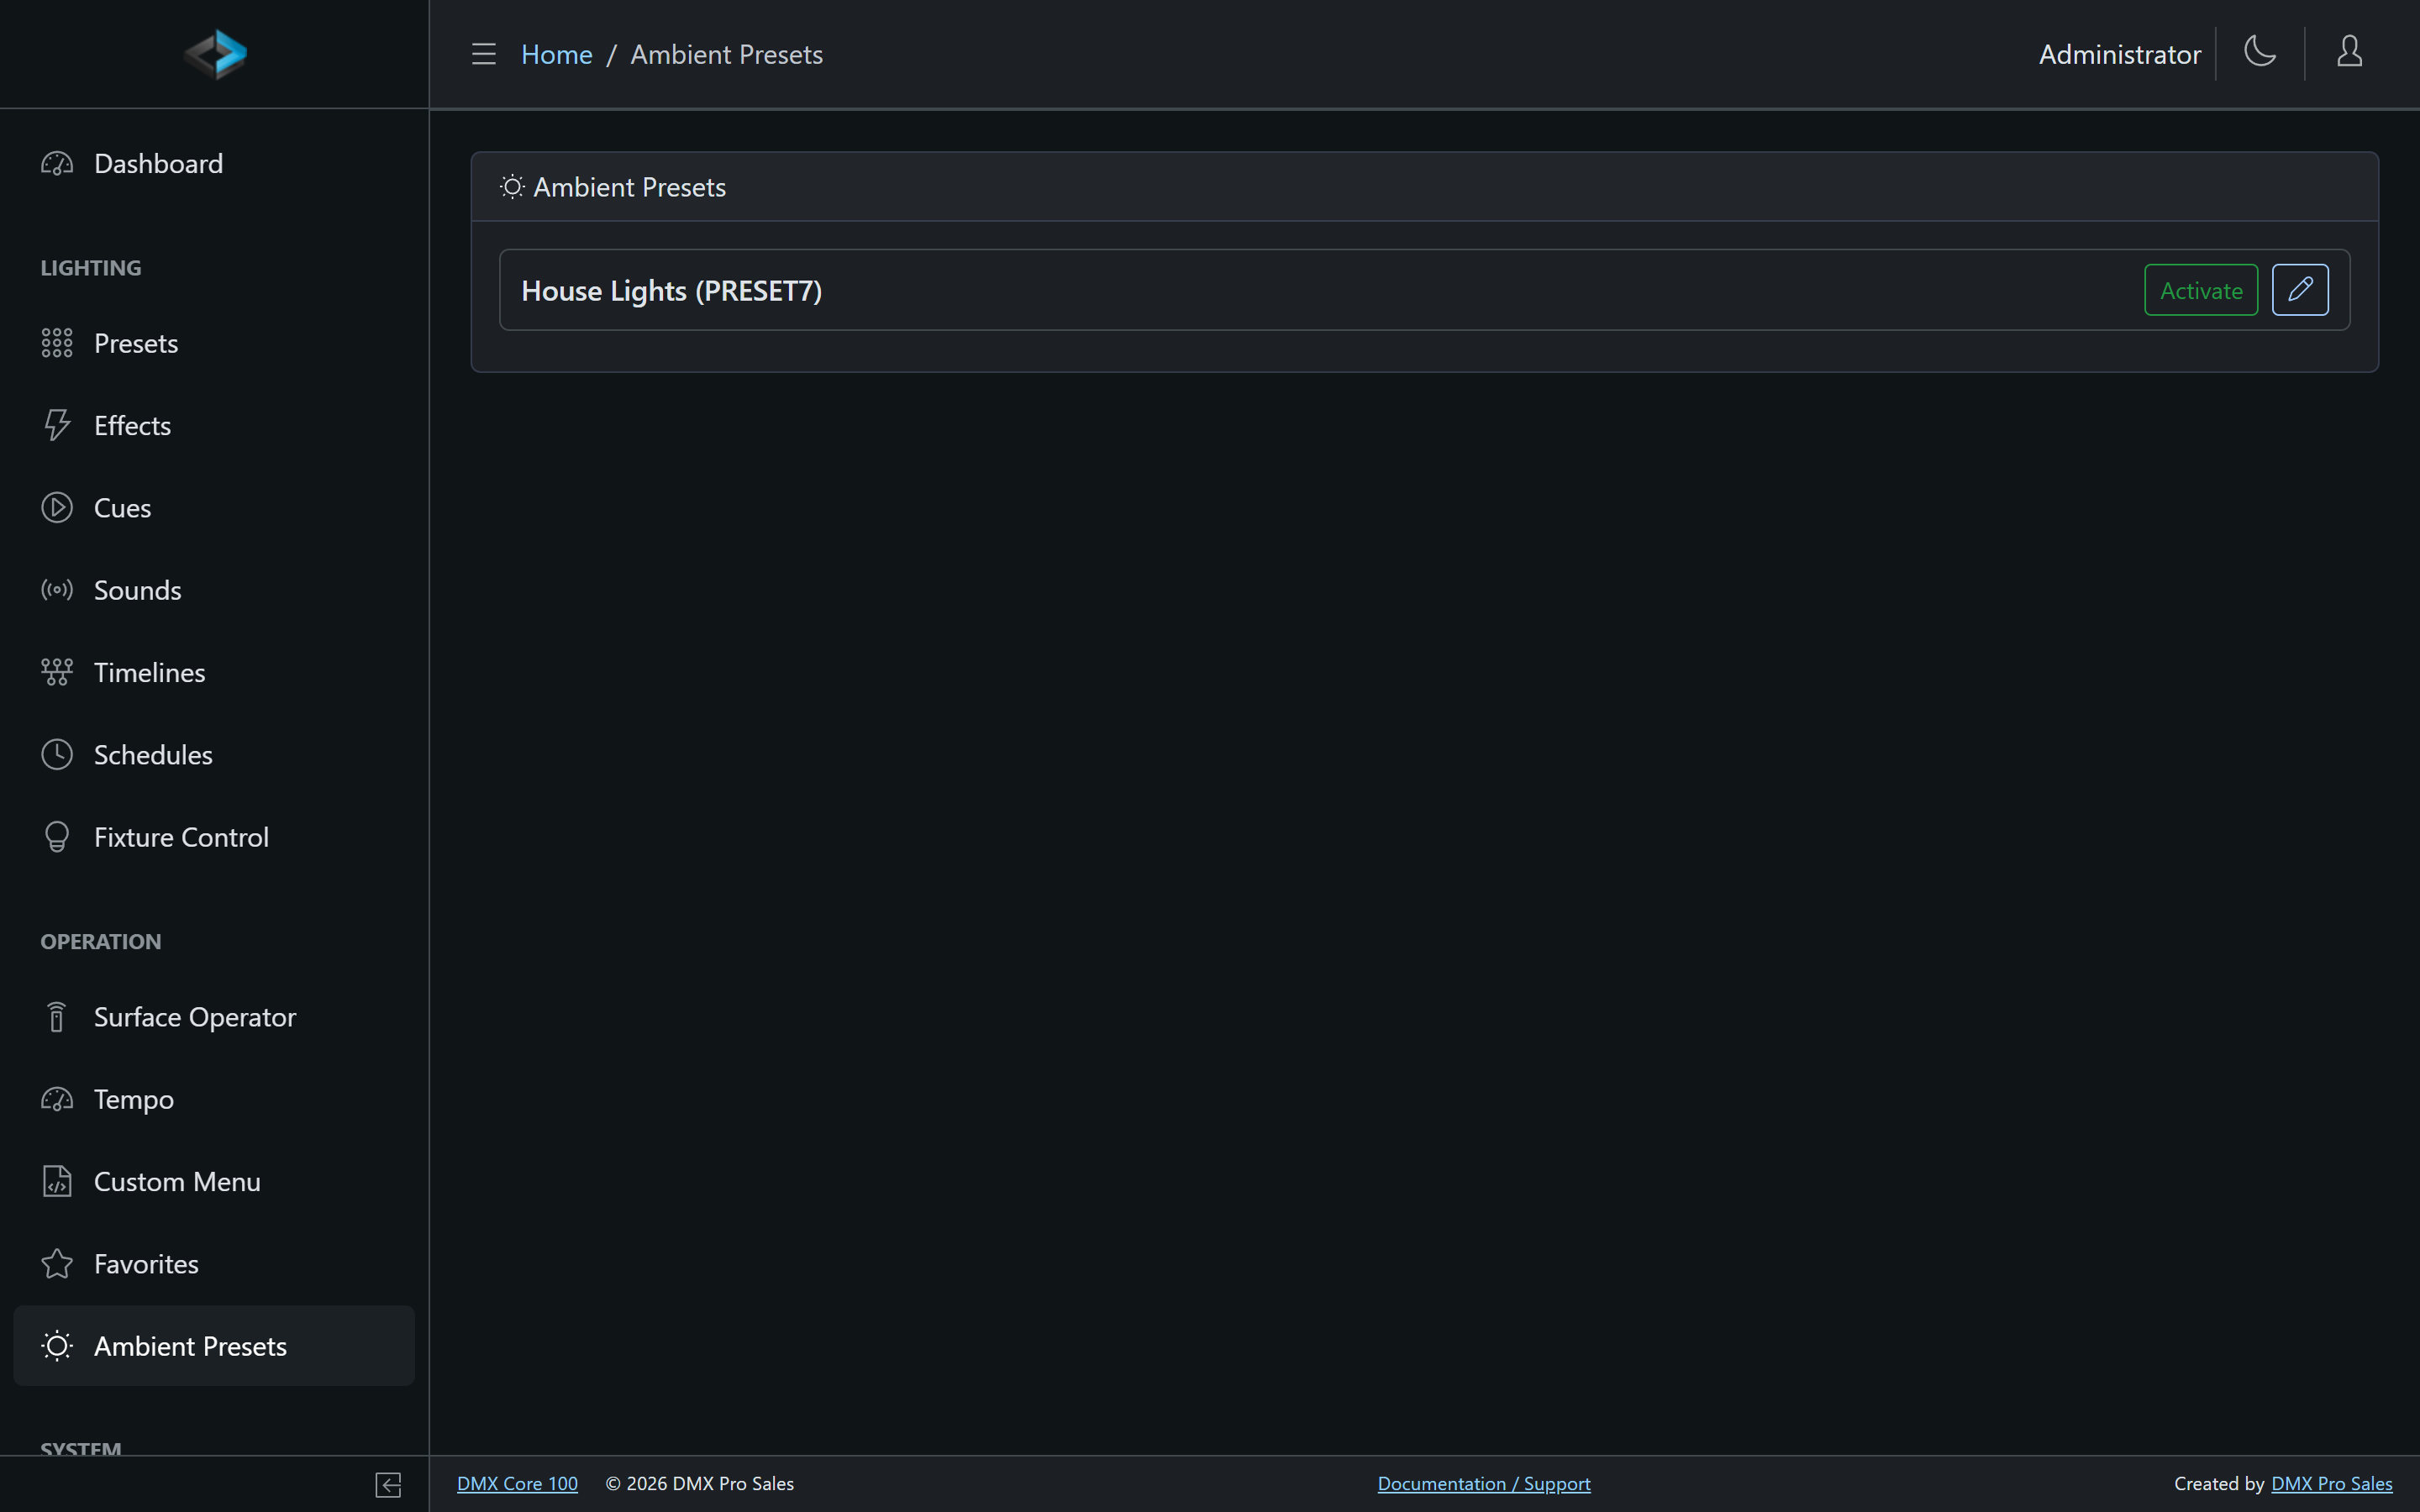
Mark presets as ambient candidates with the Ambient flag, then pick the active one on the Operation > Ambient Presets page (or via a schedule or input trigger with the Apply Ambient Preset action — for example, a warmer ambient state in the evening).
Temporary Presets
When you activate a preset from the list, a timeline event, or an external trigger, it runs as a temporary preset — it takes over from the ambient, does its job, and when it ends the ambient resumes. This fallback happens automatically when:
- A timeline containing a preset event reaches its end
- The user manually stops the active preset
- A schedule’s end time is reached
- An input trigger fires a stop action
The result: your venue never goes unexpectedly dark.
Duplicating Presets
In the Web UI, duplicate a preset to create a copy with the same fixture states — useful for variations, like the same scene at different brightness levels.