
Getting Started
You need a DMX Core 100 on the network, a PoE switch or injector (or a USB-C power supply), and at least one knob or button - the Rotary Encoder Kit or your own. For a Symetrix or Q-SYS DSP instead of a Core, steps 2 and 3 are different: see Symetrix and Q-SYS; for Bitfocus Companion, see Bitfocus Companion.
1. Wire a knob
Plug the encoder kit’s cable into control port 1 - the four ferrules go into the pluggable screw plug in the order A, B, S, GND, matching the legend on the box. For your own encoder or buttons see Wiring.
2. Create a Control Value on the Core
In the Core’s Web UI, under Control & Integrations > Control Values, add one with Code VOL, Kind Level, Step Size 5%, and Drives pointing at whatever the knob should move - the master dimmer, a zone, the audio volume. That is the whole Core-side setup; DMX Core 100 setup has the details and the optional button trigger.
3. Tell the controller which Core
Connect the controller to a computer with a USB-C cable. A drive called POECONTROL appears with four files:
| File | What it is |
|---|---|
config.txt | The settings. This is the one you edit |
servers.txt | Every DMX Core 100 (and other OSC server) the controller can see on the network, with addresses |
status.txt | What the device is doing right now, and why the last change was refused if it was |
readme.txt | The short version of this page |
Open config.txt in any text editor. The file ships with knob 1 on port 1 stepping the Control Value VOL, so for the setup above only one line needs filling in:
server = Main Hallserver is the Core’s device name exactly as it appears in servers.txt. Part of the name works if it matches only one Core, and an IP address works where mDNS is blocked. With exactly one Core on the network the line can even stay empty.
If your Control Value has another code, change the control line under [knob 1] to match. Save the file and eject the drive. The change applies at once - no restart. If something in the file was wrong, nothing changes, the status LED keeps flashing fast, and status.txt says what was refused and why.
4. Plug it in
Connect the Ethernet cable from a PoE switch. Within a few seconds the status LED goes from fast amber flashing (starting up, looking for the Core) to a slow green flash (running). Turn the knob: the Control Value on the Core steps, and whatever it drives follows.
If nothing moves, Control & Integrations > OSC Clients on the Core has a Recent OSC Senders list at the bottom. The controller’s address appearing there with a message count means the network side is fine and the Control Value code is what to check. See Troubleshooting.
5. Add more
From here on the USB cable is not needed: the controller’s web page, http://poecontrol-<id>.local/ (the exact address is in status.txt), shows the same status and edits the same config.txt from any browser on the network, and takes firmware updates too. The other three ports take more knobs or buttons; each gets its own section in config.txt - see Configuration. The knob’s push switch and any button send an OSC address of their own, which an Input Trigger on the Core turns into a cue, a preset, a blackout or a mute - see DMX Core 100 setup.
Mounting
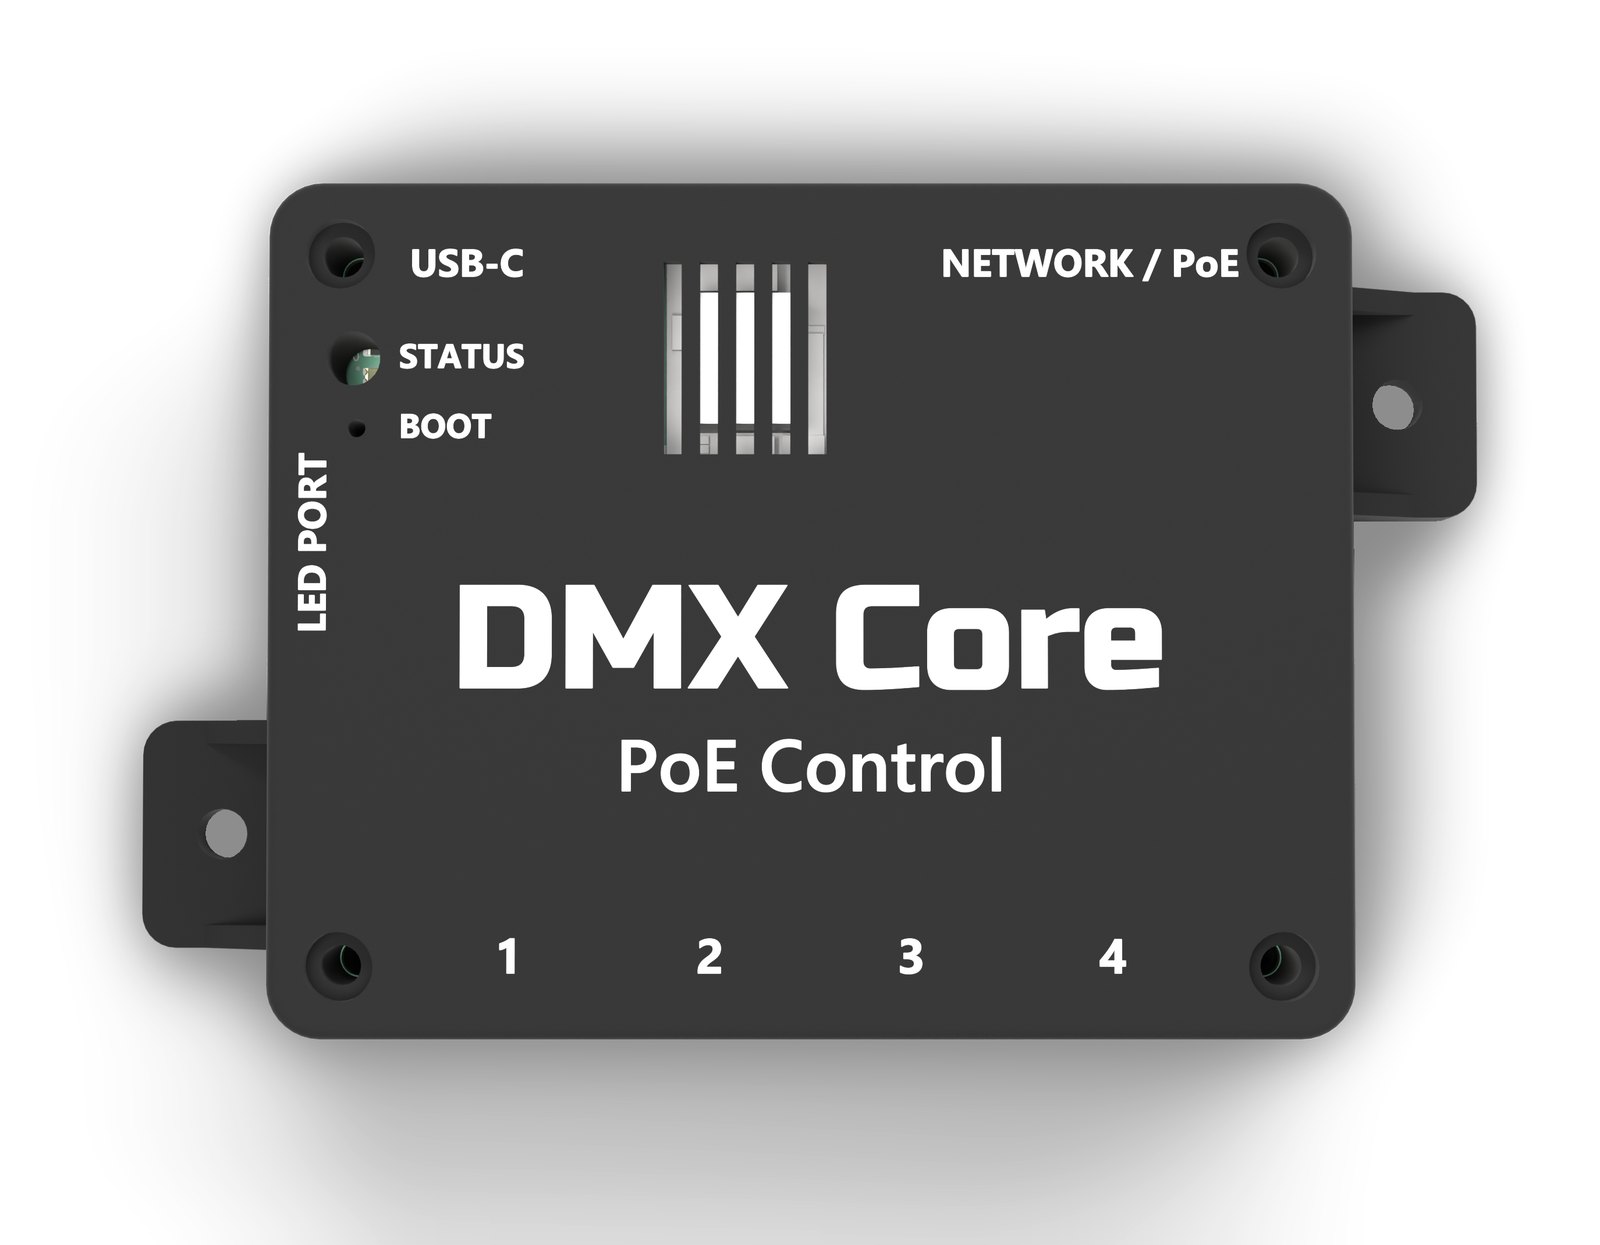
The enclosure has two mounting ears for screws. The Ethernet and USB-C ports are on one edge, the four control ports on the opposite edge and the LED port on the side, so the box mounts behind or beside the panel that holds the knobs, and the encoder cables run to it. Extension cables lengthen the run where the box is further away - see Wiring.