Backup & Restore
The DMX Core 100 provides several ways to back up your data (cues, presets, schedules, settings, and more) and restore it - either on the same device or a different one.
Backup Methods
Local Backup
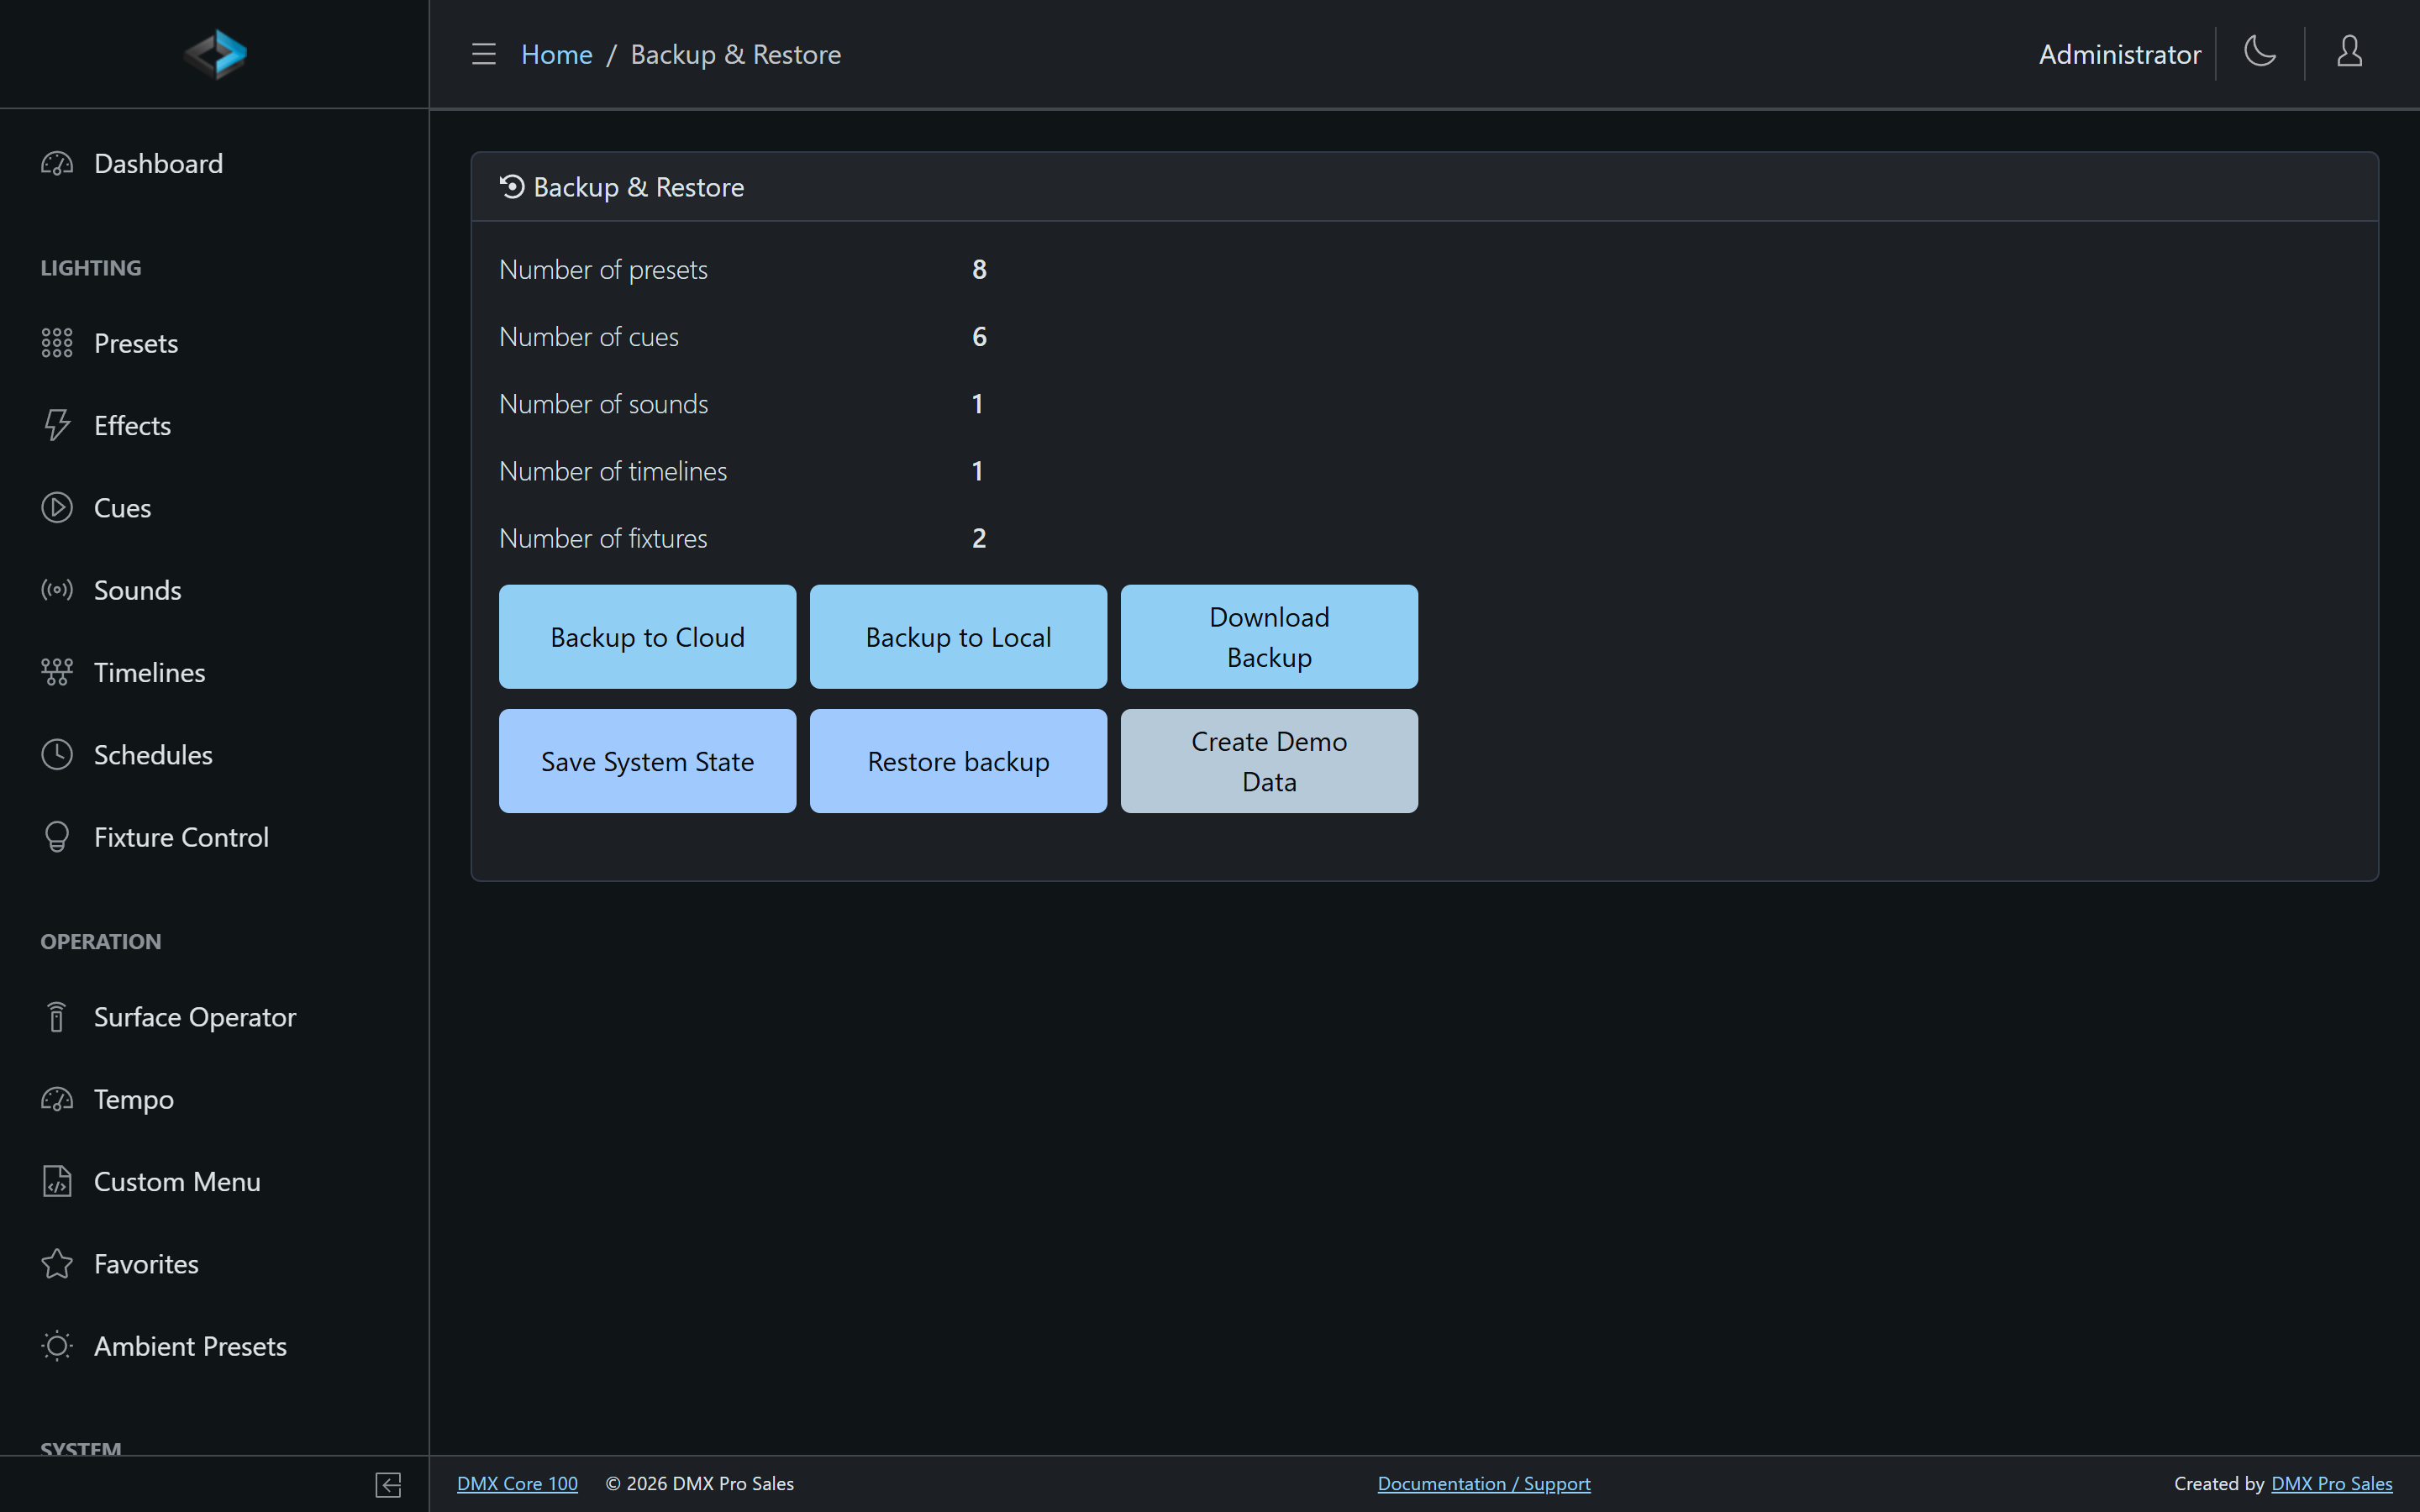
In the Web UI, go to Backup & Restore:
- Backup to Local - write a backup file on the device
- Download Backup - download a backup file to your computer
- Backup to Cloud - upload to the DMX Core cloud (api.dmxcore.com)
Create Backup is only the title of the confirm dialog, not a button.
On the touchscreen, go to Utilities > Local Backup (admin mode required). You will be asked Full Backup Yes/No, then Select backup destination (size: …) with USB Flash Drive (Part N), Micro SD Card, Refresh, or No external devices detected.
Cloud Backup
Back up your data to the DMX Core cloud. Cloud backups can be restored on any DMX Core 100 device.
In the Web UI, use Backup to Cloud. On the touchscreen, go to Utilities > Cloud Backup.
USB Backup
You can also back up to a USB memory stick:
- Insert a FAT32 or exFAT formatted USB drive
- On the touchscreen, go to Utilities > Local Backup
- Choose the USB destination when prompted
Restoring
From a Local Backup
- In the Web UI, go to Backup & Restore and click Restore backup
- The List of backups page has a Local / Cloud / Custom Cloud dropdown
- Under Local, use the file input (Drag and drop a file here, or click to select a file) then Upload
- Click the restore icon on the uploaded file. Select item to restore offers Full Backup (FULLDEVICE) - confirm to replace everything
On a wall-mounted appliance the service restarts. On Windows, macOS, or Linux desktop, the application closes - start it again from the usual shortcut.
From Cloud Backup
- In the Web UI, go to Backup & Restore and click Restore backup
- Switch the dropdown to Cloud (this device) or Custom Cloud
- Custom Cloud asks for a Custom Device Serial - the serial of the unit the backup was created on
- Choose the backup and restore
From USB
- Insert the USB drive with the backup file
- On the touchscreen, go to Utilities > File Explorer
- Open the backup ZIP and choose Restore as full backup (replace everything on this device)
S-Play Import
The DMX Core 100 can import backup files from Enttec S-Play devices, making migration straightforward.
Demo Data
The system includes a demo data feature that creates ready-made sample content - cues, presets, sounds, and effects - with no external hardware required. This is useful for testing and learning the system before setting up your own data.
In the Web UI, go to Backup & Restore and click Create Demo Data. Filter by type, select the items you want, and click Create Selected.
What’s Included in a Backup
A full backup includes:
- All cues, presets, sounds, and timelines
- Schedules and input triggers
- Fixture configuration and zones
- Custom menu configuration
- User accounts and roles
- System settings
For moving data between units, see Move Data Between DMX Core 100 Units.
Factory Reset
To wipe the device back to empty first-start defaults without restoring a backup, use Factory Reset on Utilities > System. Local backup files are kept so you can restore afterward. Network settings and the device license are also kept. Factory reset does not unregister a hardware appliance from the portal - the unit’s identity stays with the hardware - but it does delete user accounts, roles, and API keys.
See Factory Reset.